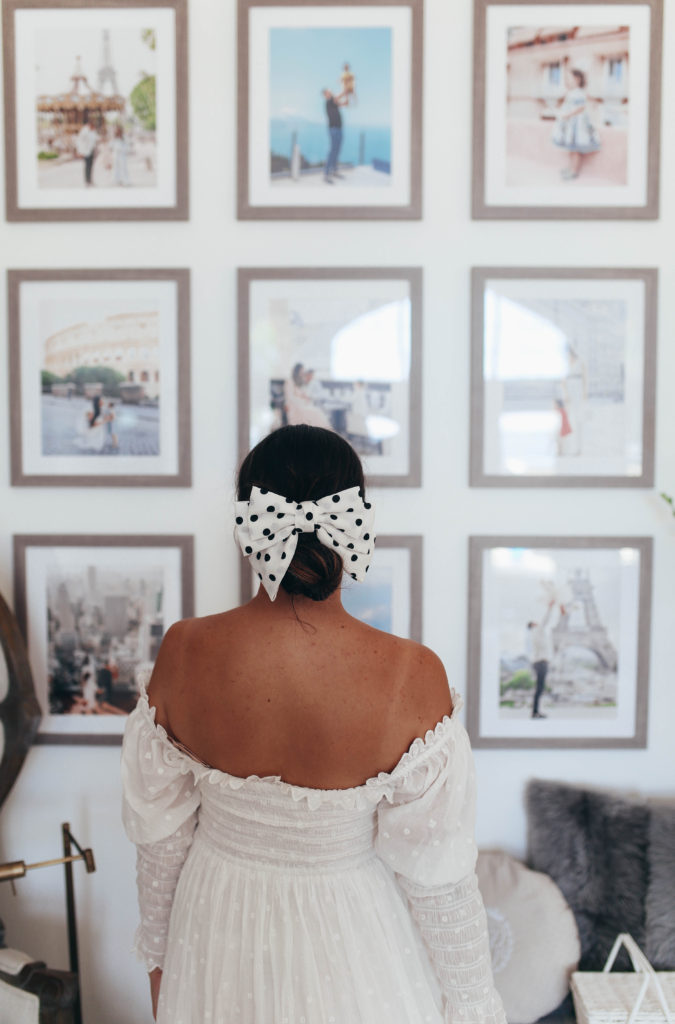
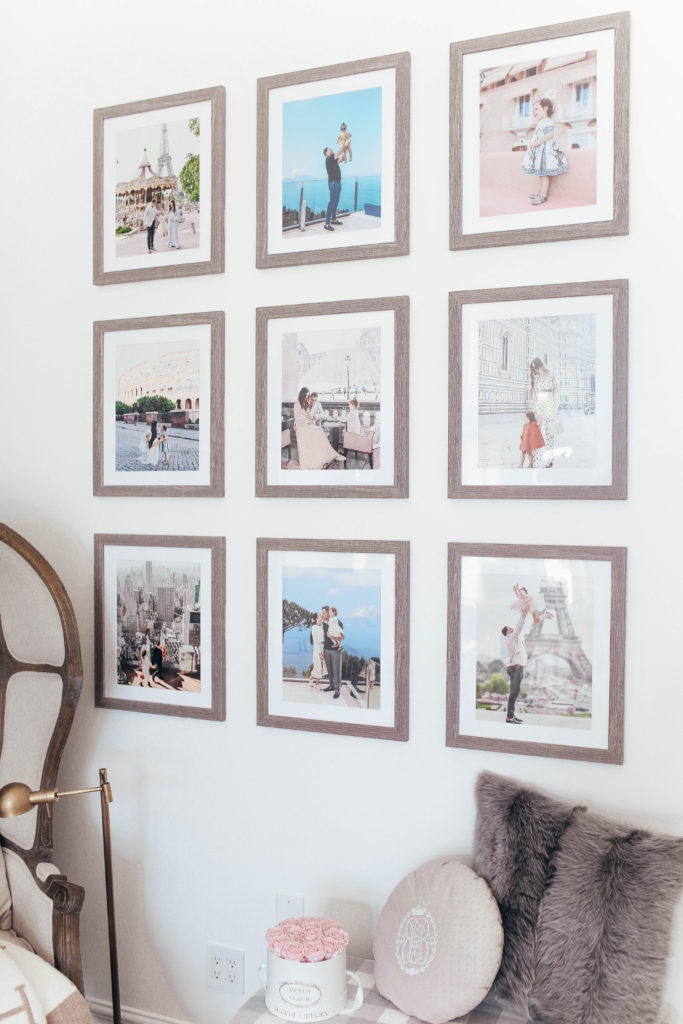
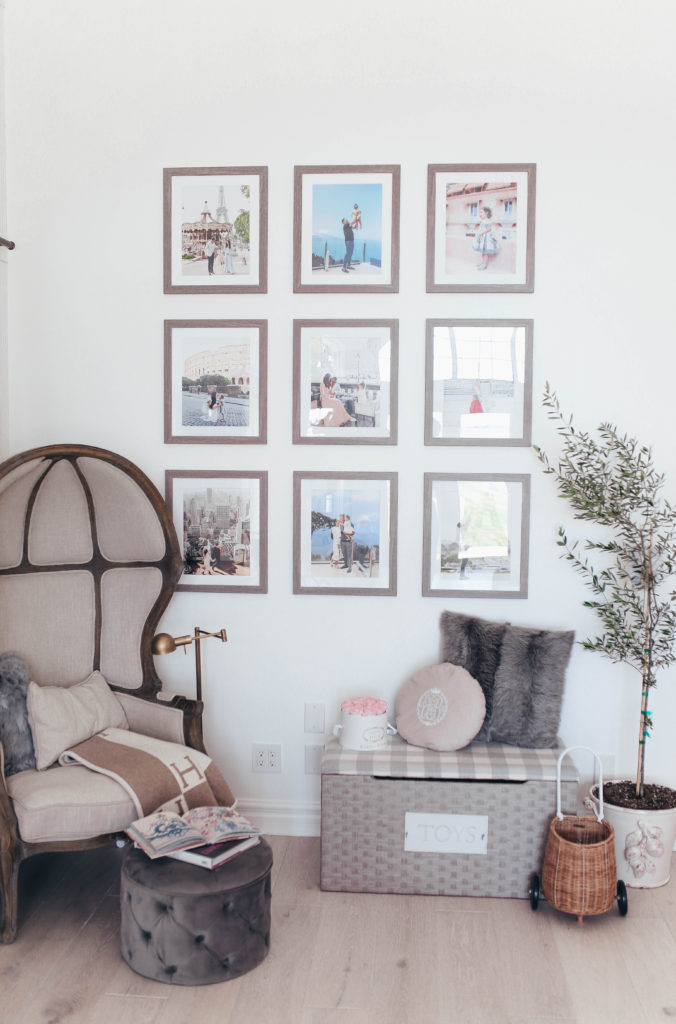
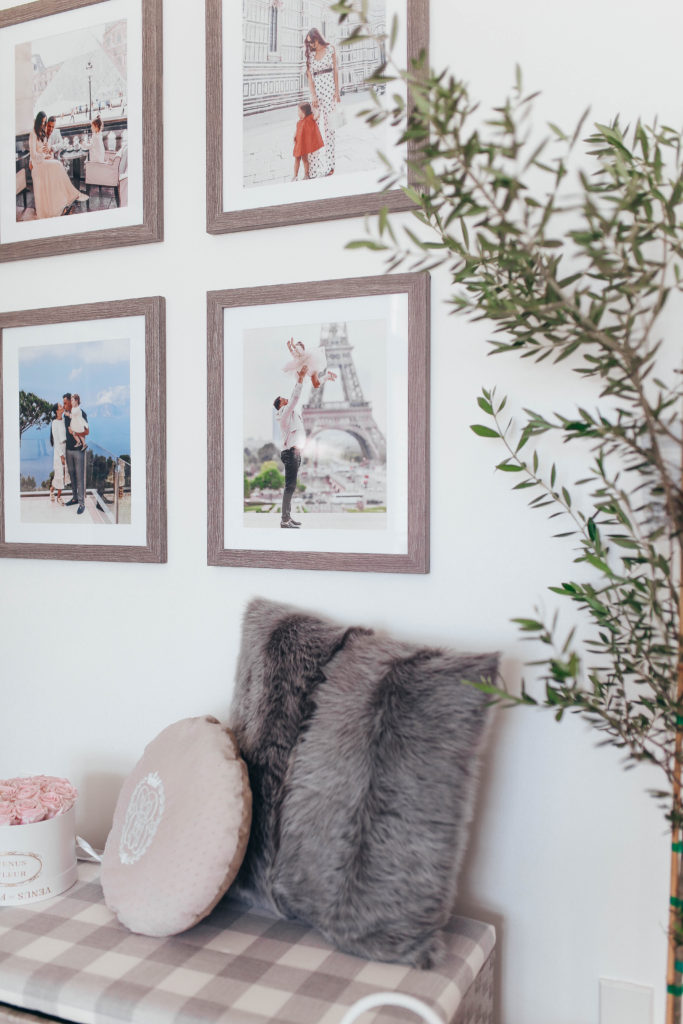
I’ve had cravings for a gallery wall ever since we moved in three-something years ago! I’ve pictured and planned multiple galleries in my head all over the house, but haven’t been too successful going through with it. I think the intimidation of finding the frames, and selecting the “perfect” photos really set me back, until recently.
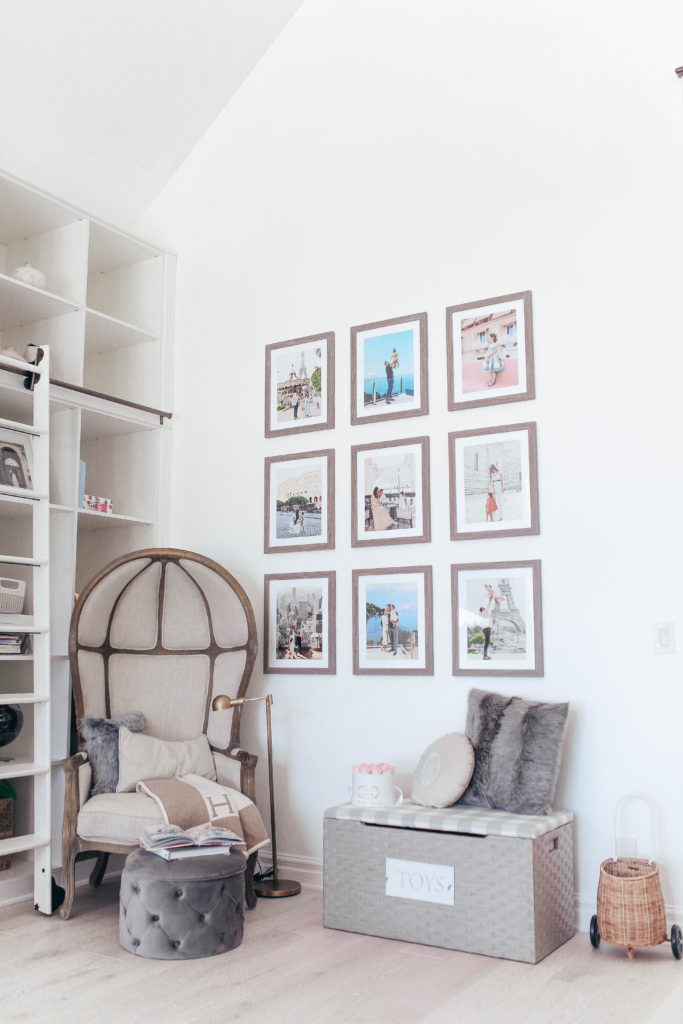
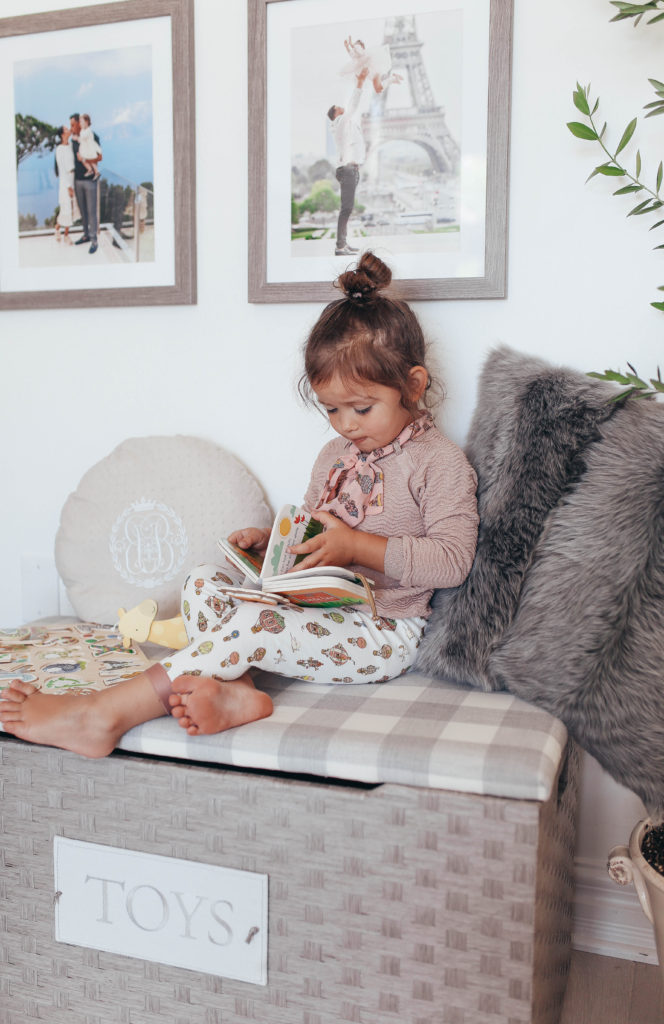
After we came back from our trip to Paris and London in May, I haven’t been able to get a gallery wall out of my head. Mainly because I had all of these wonderful new photos I wanted to share and display. I already knew exactly where this gallery wall would go, as I needed to finish my reading nook located next to my built in library in our living room. Our living room is an open, airy, casual space where Esmae plays, we lounge around and have family time, so adding in family photos from our favorite travels perfectly suited this space.
After doing a little research I found FrameItEasy.com which helped me find the perfect frames and sizes; making the whole process so quick and easy!
My next step was selecting frames, researching the best way to get the gallery wall up, selecting photos, and choosing colors for an overall theme. I was able to custom frame sizes with Frame It Easy, select the material and color per frame and order them with ease.
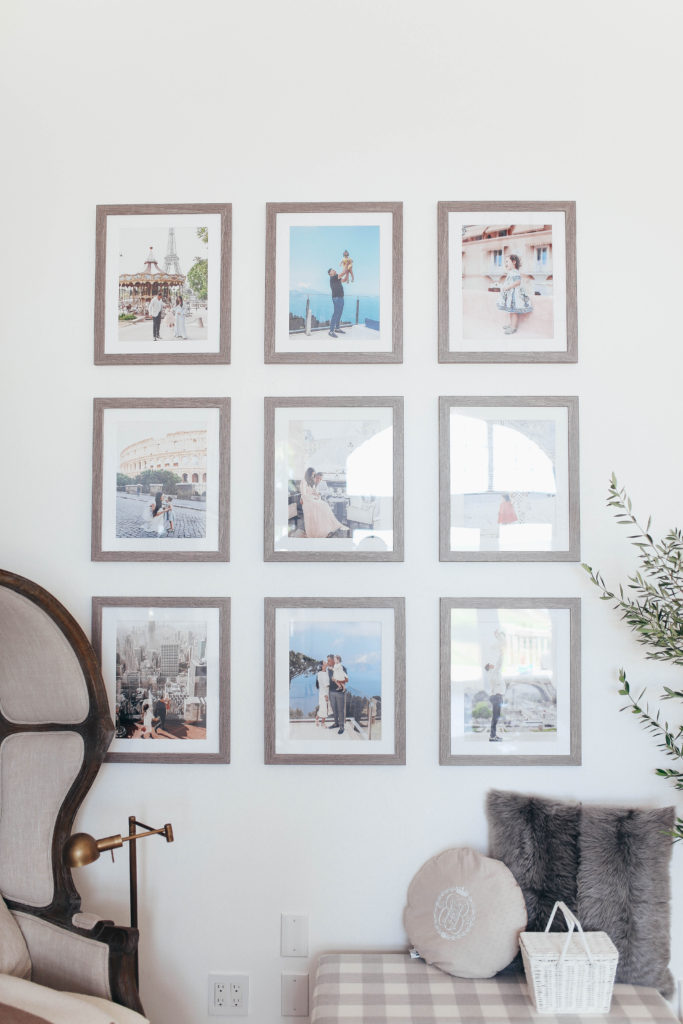
I decided on a photo size of 11″ x 14″ with 1 1/2″ smooth white matting. The overall frame size came out to be 16 ” x 19″ and the style code is 71, color: gray oak. The awesome thing is that Frame It Easy makes this entire process simple for you, with just a few easy steps, as well as making affordable frames!
Before my frames arrived I went through all of my photos to select which photos I’d love to display. I narrowed it down to about 20-30 photos. I then watched a very awesome, informative and educational video on youtube called “Learn to Master Gallery Wall 101! With Good Housekeeping”. With this video I was able to select which colors I wanted in my photos, placement, and overall I was able to narrow 20-30 photos to 9 for my wall. I also made sure I had my tools ready for when everything arrives, so that I can get started right away.
I used: A tape measure, spirit level, command strips and a pencil. (More about this in the video – for reference).
I then ordered my prints on Shutterfly.com, I selected photos size of 11″ x 14″, and selected the “matte” finish.
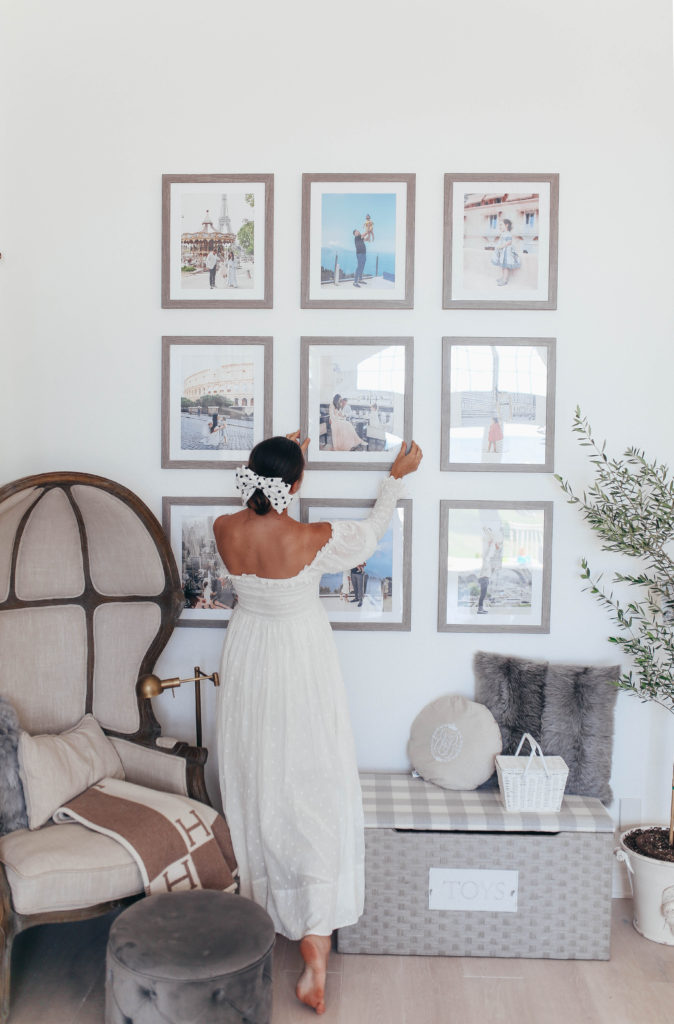
Once everything arrived, I was able to assemble my photos in the placement that suited the room, space and overall theme. Using the command strips – I skipped the whole hammer and nail issue! And had my gallery wall up within an hour!
My overall experience and project was fun and easy! Im already planning my next gallery/art project! And I cant wait to share it soon!
Frame it Easy is offering my readers an exclusive 10% off discount with Promo code VICTORIA.
The quality, craftsmanship and overall experience with Frame it Easy was amazing and I would highly recommend them!
If this project inspires your next project, please share it with my on IG (@allthingsvictoria). Id love to see your beautiful work too!
Thanks for stopping by,
xx, Victoria
Disclaimer: This entire project was sponsored by Frameiteasy.com
